Tuesday, August 20, 2019

Singapore


Our Malaysian visas were coming due, so we decided to head to Singapore.  It seemed unlikely we would get to visit with the boat, both because of timing and the fact that Singapore has made it increasingly difficult and expensive to clear in there. But we definitely wanted to see "The Lion City", so road trip here we come!


Esplanade Theatres on the Bay
(known as 'The Durians')
Before arriving, my main impression of Singapore was based on the somewhat embarrassing tale of Michael Fay, the American 'kid' whose family created an international incident when they tried to get him out of being caned for vandalizing a bunch of cars. I'm happy to report that it seems he has gotten his life together and now manages a casino in Cincinnati. Singapore is also known for strict laws against drugs (death penalty), littering, spitting and chewing gum (banned since the '90s).  Needless to say, we were on our best behavior.


Merlion Statue (because it's a lion and a
mermaid), with the Marina Bay Sands boat
on 3 buildings restaurant.

We did get a bit of hassle in Malaysian Immigration, both leaving and re-entering the country. Malaysia, understandably, doesn't want people doing an end run around their processes and staying indefinitely (possibly to work or run a business) by doing 'visa runs' every 90 days. So sometimes people have a hard time getting back into the country. In anticipation, we had our letter from the marina, documenting that our boat is at a boatyard, bleeding money from our bank account (not exactly in those words).


Getting ready to watch 'Spectra - A Light and
Water Show' by Marina Bay Sands

We were not expecting the stone-faced Immigration official to question us so closely as we left Malaysia, but she did. She also asked us a bunch of questions and asked to see the letter from the marina, but grudgingly let us leave the country.


Garden Rhapsody with the Super Trees - Gardens By the Bay

Part of the problem with immigration is that we have numerous stamps in and out of the Malaysia, due in large part to our participation in the Sail Malaysia Rally, which creates a bit of a red flag. After we finished with Singapore and returned to Malaysia, the Immigration officer was friendlier but seemed never to have encountered a cruiser before. We explained that we don't have an "onward" or return ticket because we live on a boat. That just seemed to confuse her more but we stayed pleasant and tried to explain and showed all our documentation. We could feel angry vibes emanating from the long line behind us as the officer went to escalate the situation to her supervisors. Eventually it all worked out and we were allowed back in for the full 90-days. Hopefully that was the last time checking into Malaysia.


Kampong Glam, near our hotel
Enough about immigration and on to more important topics! After the long bus rides from Sitiawan to Singapore, we settled into our trendy hotel (that we got because it was a super special deal--almost too good to be true--which it turned out it was; long story that we won't bore you with, but it eventually worked out) and and spent the next few days exploring. Not surprisingly, it was just as hot and humid in Singapore as in West Malaysia and all the kids wanted to do was sit in the air-conditioned room, eat pizza and watch TV. There was some of that, but mostly we walked a lot and ate from hawker stalls. Many places were closed because of the holiday weekend, but we found plenty to sample.


What's up chicken butt (and head,
neck, and back bone)?

We also took a trip down to the S.E.A. AquariumThere are several enormous tanks filled with all kinds of sea life, large and small. We come from a city with a world-class aquarium and we have lived on the water for years, so we are not easily impressed, but this place was impressive. Even with the crowds (we had to wait in line for 45 minutes just to enter the aquarium, even with pre-purchased tickets), we enjoyed our visit.


Feeding time (there's a diver
in there somewhere)


We also visited the Singapore Botanic Gardens, a UNESCO World Heritage site. We all (even Mark and Conrad) enjoyed the extensive orchid exhibits, though the finer points were undoubtedly lost on us.


Orchids have bilateral symmetry,
like the human face.


A lot of these cute things in the city.
Also a lot of Porsches. Serious money abounds.

Demonstrating helix arms in front
of the Helix Bridge


Monday, August 12, 2019

How to rebuild a cockpit in 179 easy steps


They take trespassing seriously in Malaysia.

As a result of the extreme heat (mid-90's, no air-conditioning) and seemingly endless boat work, I find myself staring off into space like a low-energy zombie. In contrast, Matt seems to work at a feverish pace that makes me feel even more slug-like.

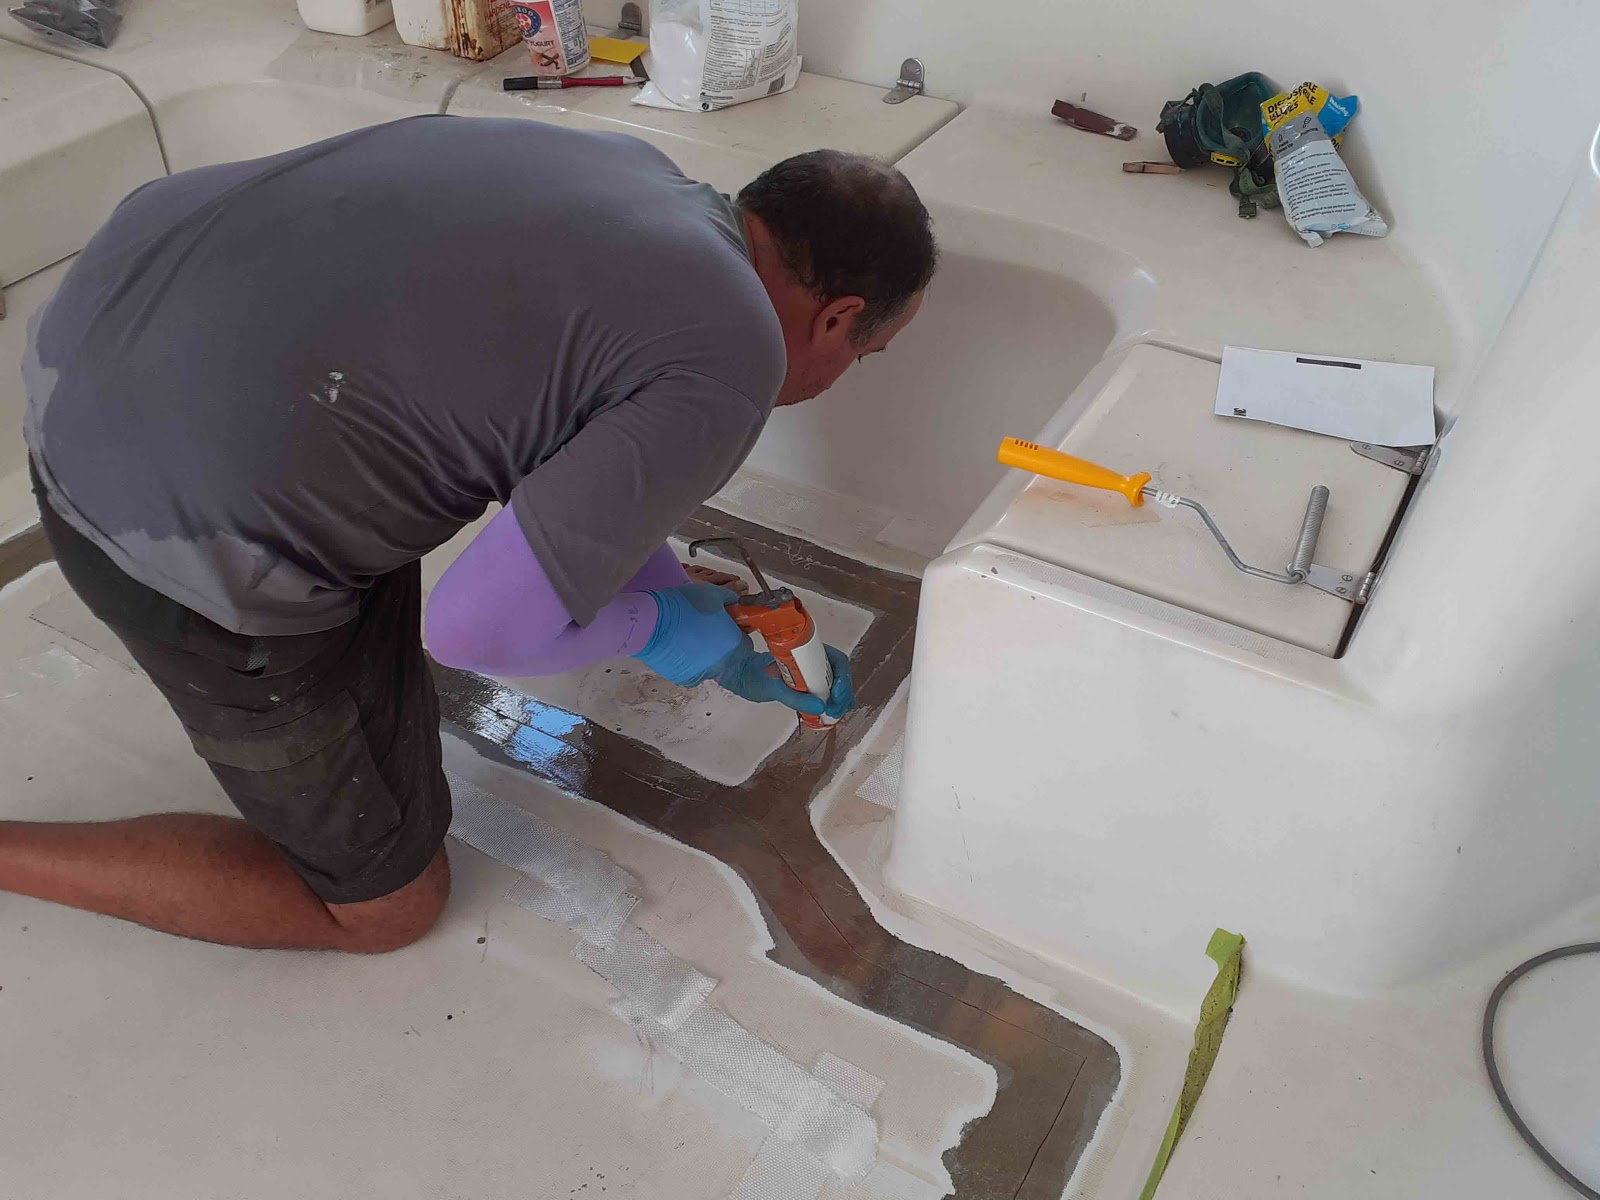
Arm protectors to keep the epoxy
off. Practical and stylish.

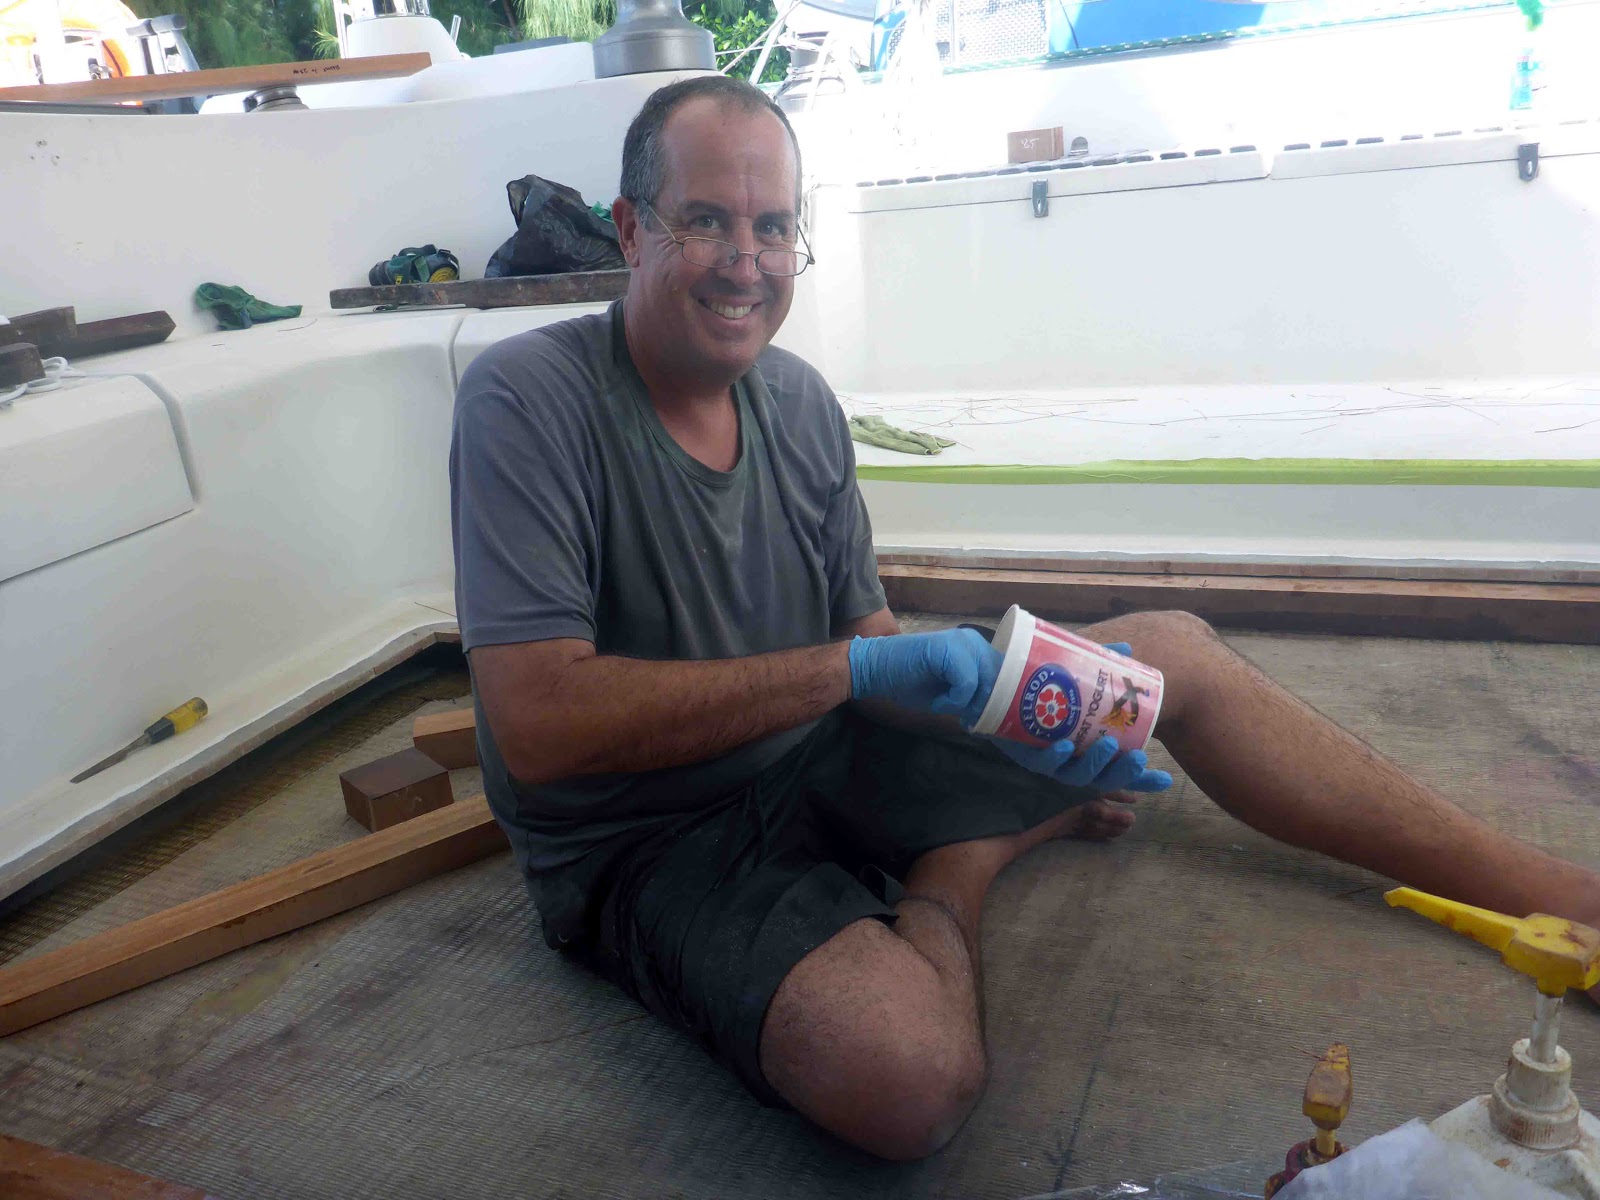
Sometimes he literally sweats buckets, repeatedly wringing sweat from his shirt throughout the day. Belying the myth that men don't multi-task well, he's mixing epoxy, painting the non-skid in the cockpit, epoxying then varnishing the teak tables, fixing his bike, repairing broken fans, etc.

The project to fix our cockpit floor, which was not even in our top three priorities while hauled out, took about six weeks. We were stalled on some of the other projects, so we decided to tackle this one while we had time. With this project completed, we have our living space back (no more crawling through hatches to get in and out of the boat on painting days). It's amazing what a refreshed and solid space does for peace of mind.

This post details all we have done (with Matt doing most of the heavy lifting, literally and figuratively), so tune out now if construction and boat work holds no interest for you. We originally thought we would paint the whole space ourselves, but Jimmy from Prestige Marine (who does fantastic work) became available to spray our Awlgrip, so we ended up shifting gears to sand and tape areas we weren't originally going to paint. It involved some extra work, but in the end we're happy with the way it turned out.


Reinforcing the cockpit floor


The whole reason this project got started was because of a bit of "spring" in the cockpit floor. The floor wasn't rock solid, as we knew it should be, so we decided we'd better figure out what was going on.  When we opened up the cockpit floor, we didn't know exactly what was underneath. What we didn't expect from a quality boat builder was a few unattached pieces of wood strewn under the floor.

We think that over the years the boards (which were slightly wedge shaped to allow for the slope of the cockpit floor) may have shifted back just a bit, which is why they no longer provided full support to the fiberglass floor above. 


The first step was to dry-fit new boards to support the floor. We purchased a local hardwood used the build fishing boats. I don't remember the exact Malay name but it was something like "Batu Kuning" ("Yellow Stone"). It's a teak like hardwood that weighs a lot but is water proof, rot resistant and strong.

The entire edge of where we cut away the floor was reinforced, as well as multiple points in the center. We also fixed a drain hole (we think it was put in after the boat was built) that was leaking water into the area.

The distance of the void from the undercarriage to the fiberglass above was different throughout the cockpit (to give a slight slope to get water to drain), so it took some calculating and cutting to make sure that everything would at be the correct height.


Before securing the boards, we dry-fitted the floor to make sure it would go back into place flat and even. We used ropes and a pulley system to suspended the floor from our hard top to help guide it into place. The section weighs a lot and it would have been very hard for the two of us to move it around without this support system.

We scrubbed the fiberglass to remove 27 years of dirt and then set to work securing the wooden supports with epoxy.


Repairing the cockpit floor

Once the boards were epoxied down, the next step was putting the fiberglass floor back in place.


Dry-fitting the floor.


It takes a steady hand...


There was remarkably little drama in
fitting the floor into place.

The resting place for the floor was
our side deck.


Once we were sure that the floor
would sit correctly, Matt epoxied the secondary
wood pieces into place. The epoxy 'cushion'
would allow the floor to squish the boards
to exactly the right height.

The floor was lowered while the epoxy sandwiched between
the boards cured. Then it was raised, the final
layer of epoxy applied to the top of the
boards, and the floor laid for the final time.

Note the small sections of wood
that Matt placed along the edge to
prevent the floor from sinking
beneath the level of the surrounding floor.


A smaller section of floor that was cut
away initially was repaired first.
The rocks provided weight to
ensure that the floor made good
contact with the epoxy.


Filled water jugs provided the weight to keep
the floor level, while small pieces of wood
screwed to the edges kept it from sinking too low.


After the epoxy underneath was allowed to cure, the next step was to strengthen and fiberglass the cut lines.
Injecting epoxy into the cut line.


Laying fiberglass cloth along the cut lines.


Smoothing down the peel ply.

Rolling to make sure there is good adhesion and no air bubbles.

Filling and fairing. This was an iterative process.
The hot weather caused the fairing compound 

to off-gas, which created small pinholes that
showed up only after sanding.


Painting

After priming.

All the hardware was removed in places to be painted. We primed everything, including the gel coat in areas that were to be painted using Jotun Jotamastic high build primer. We put down two coats of primer, with a lot of sanding after each coat to get it smooth. We 'rolled and tipped', which is supposed to create the smoothest finish this side of spraying. Unfortunately, for us the surface showed a lot of brush marks that had to be sanded out.

We thought we could 'roll and tip' the Awlgrip primer and topcoat, but when we tried this technique on the seat covers, we did not get a smooth enough finish to make us happy. Jimmy, the master painter whose shed is next door to our boat, offered to spray for us if we would do all the taping and masking. We jumped at the chance because the alternative was to be annoyed at brush marks and imperfections every time we sat in our cockpit.


The cockpit after taping and masking. This
step was the most time-consuming of all the steps
and had to be done a couple times (before
the Awlgrip 545 Primer and Topcoat applications).
The first time we taped everything up (for the 545 Primer), we enclosed things a bit too much and the spraying created a cloud that was very difficult to see through and may have taken some time off Jimmy and his painter's lives. Whatever it is that makes Awlgrip so durable does not create environmentally-friendly or safe-for-humans fumes.  Luckily everyone wears good respirators, but it can still get absorbed into your skin if you hang about too long.

For the topcoat application, we created an opening to allow some of the paint spray to escape. The topcoat had to be applied on two different days, to reduce the risk of touching wet areas in some of the tighter areas of the cockpit. The only parts of the floor that were painted (both primer and topcoat) were the edges and the lines through the main area of the cockpit that would not be covered with nonskid.

Now that the glossy topcoat was on, we had to turn to recreating the non-skid areas on the floor and seat covers.  To make matters a bit more complicated, the floor isn't just a solid area of non-skid.  It has smooth areas around the perimeter as well as lines that divide up the larger flat areas to allow water to drain more easily.   

We primed and painted the lines in between the nonskid by hand. Once those areas were cured, we had to then mask off the areas that would remain smooth.  The final step was to prime the areas that would be covered with nonskid and then apply the topcoat and nonskid material. (Following all this nonsense? Yeah, too many steps for us too!) 

We chose this stuff for the non-skid. The SoftSand has some give to it and the final product isn't as much like sandpaper as some of the other products out there. It was shipped quickly from the U.S. and we were happy with the end result. We chose the fine texture for the seats and medium texture for the floor. We think we could have gone with fine for the entire cockpit--it was 'grippy' enough and easier on exposed skin.

Matt sprinkling SoftSand on the seats

The nonskid was done in sections to make it
more manageable. We also had to do smaller sections at
a time because the SoftSand had to be swept up and
reused and there were times when we ran out temporarily.
The larger sections in the main cockpit area remained challenging.

The tape is covering the non non-skid
areas of the cockpit. These 'channels' help
the water drain.

The center section of the main cockpit was
completed last. Each non-skid application received
1 coat of topcoat with nonskid material sprinkled on top and then
at least 2 more coats to cover the nonskid. The
larger areas with more nonskid material needed
another coat to whiten the color to match the
surrounding areas.

The Big Reveal


Matt also took this opportunity to refinish
the tables. He used a combination of epoxy
and varnish. Note: flies love the shiny varnish.
Some of the additional coats were to fix the marks
left by struggling flies.


Sunday, August 4, 2019

The simple life can get complicated


French Polynesia 2015

In many ways, living on a boat can be much more peaceful than living on land. The classic shot of a cruising boat shows a scenic anchorage with no one else around. It's why many people dream of living on the water.


Lost and found. The contractor who made
our new bearing lost both the original and new
bearing for a few weeks, but they turned up
when the wrong customer gave them back.

We have had more than our share of picturesque backdrops and deserted beaches. The flip side of living on a boat is that a lot of usually ordinary activities become a lot harder. Grocery shopping might mean walking several miles to the store (if you can even find one). Laundry for us in a remote place is washing by hand in a bucket. Having to fix something that needs a part from overseas can be an exercise in wrangling bureaucratic red tape and waiting. Sometimes it seems like it would be better to just bang your head against a wall repeatedly--at least something would be happening. Our latest saga involves trying to fix our rudder and illustrates the potential perils of doing any boat project.

The main reason we pulled Perry out of the water here in Pangkor was to investigate and fix a slight amount of movement in the rudder. The cause ended up being a lower rudder bearing that had come unglued.  The planned repair seemed pretty straightforward and we thought we had everything sorted before we left for India and Nepal. In a nutshell, we ordered the special plastic for the bearing from a place in Penang and handed it over to a contractor who was to fabricate a new one.

When we got back from our land trip, everything started to go downhill. A closer inspection of the rudder post revealed it to be corroding from the inside out. To replace the post would be a much bigger project than we wanted, especially if the blade was destroyed in the process. From past experience, we know that due to the age of our boat, Privilege can provide no assistance. After spending some time trying to rationalize that it would be fine to just repair the rudder post, we bit the bullet and accepted that the safest option was to replace it. 

All the time Matt has spent eating fiberglass dust (i.e. grinding) apparently paid off. In a minor miracle, he was able to extract the shaft from the fiberglass blade while keeping the fiberglass mostly intact. 


The opened rudder.
Extracting the old rudder shaft.
Matt was even able to keep the top
fiberglass piece--around the rudder hole--intact.
That will make it much easier to put back together.
We took the extracted rudder shaft and fiberglass spade to a local foundry to have a new one fabricated. The owner said it would be no problem and promised us a quote by the following day. The whole job would take less than a week. We were amazed at how easy everything was progressing. Yes, this is the part of the story with the obvious foreshadowing of bad things to come.

The foundry called the next day to say that our stainless steel shaft, which has a diameter of 39 mm is not a standard size. The factory, which deals in inches (it's like being back in the U.S.), only has standard 1.5" or 1.75" diameter rods (38.1 mm or 44.5mm). Other places have 40 mm rods. But no one in the world seems to have 39 mm. If your eyes are starting to cross at this point (I feel you), feel free to skip to the end--the bottom line is that we can't get the rudder post we need without spending way more than it's worth.

You might think that a millimeter would not be that big of a deal. But when you are dealing with rudder posts, that pesky one-thousandths of a meter (the size of the tip of a pencil) makes a big difference. The existing bearings (one of which is still securely fiberglassed into the boat) as well as the channel that Matt so cleanly dug out of the fiberglass blade are meant to fit a post that is exactly 39 mm. Trying to get a 40 mm post to fit would mean potentially screwing up the angle of the rudder, which can change the way the boat was designed to operate.

The option of going to 38 mm would also mean messing around with the existing bearings and channel, as well as putting a weaker post into place. Privilege stopped using 39 mm posts shortly after our boat was built and went up to 49 mm. Going down to 38 mm doesn't seem like the best move.

The simple answer would be to machine down a 40 mm (or larger) post to 39 mm. And there are lots of local companies that can do that (including the foundry referenced above), but not for a rudder shaft that is over 7 feet long, like ours. 

The only places we have found that can do this are in the U.S. They are "reasonably" priced ($500 for a rod that would cost $150 off-the-shelf here) but it costs a gazillion dollars to ship here to Malaysia (okay, not that much but more than the rod costs). And believe me, the U.S. firms are almost as unexcited about doing this for us as we are about paying for it. Most of the companies that can do these jobs are used to dealing with companies with repeat jobs and big quantities.

Stay tuned to see if we have to spend the money to have the dumb hunk of steel sent to us halfway across the world (can you hear the gritting of my teeth in that sentence?). 

Tuesday, July 2, 2019

At least we have bacon


It's hard to find pork products in Malaysia because they are haram. Although, funny enough, you can find chicken products that mimic the taste of ham or bacon.

A local grocery store has a separate section for pork products, which Matt and Mark visited the other day. Matt was trying to sneak in some 'real world' schooling by asking Mark to figure out if there was a price savings if we bought half a kilo of bacon instead of the 200-gram package. Mark figured out that the 500-gram bacon was a slightly better deal, but then said, 'And anyway it's more bacon!' Out of the mouths of babes...


The cockpit floor on Perry after we opened it
up. Just three loose boards to shore things up.

One of the projects we are tackling while the boat is out of the water is reinforcing our cockpit floor. A few years ago, we started noticing a sponginess to it. The floor would flex slightly when walking on it, even causing the tables to rattle a bit. Perry was still as solid as a rock, but we also wanted to make sure she stayed that way.


The cockpit with new hardwood pieces.
The piece of floor that was cut out is suspended above.
We hung it from the cockpit hardtop to make it easier
to lower into place without disturbing the epoxy underneath.

The problem with fixing the issue is that we had no idea what was underneath. We didn't know whether we could shore it up by injecting epoxy resin into the floor or if we had to cut the top layer of flooring off. It would be like doing surgery on someone without really knowing how things were organized underneath.


Mixing epoxy.
We didn't even try to contact Privilege because we have never had any luck getting information about our vintage boat. At one point, Matt injected a syringe full of epoxy into a hole he drilled into the floor. When the entire contents disappeared, it was clear that we would need a lot of resin to fill any voids. Using a small camera we borrowed from our friends Dave and Booker on Tortuguita, Matt was able to get a vague notion of the layout.

He cut around the edge of the floor and we lifted it out. We were surprised to find that the only thing separating the top layer of floor (which was a sandwich of fiberglass and foam core, still in good condition) from the bottom of the hull were 3 skinny boards that were not attached to anything. Over the years, the teak boards appear to have shifted a bit and were no longer supporting the floor.

We purchased a bunch of hardwood from the local lumberyard. It is so strong and waterproof that it is the wood of choice to make local fishing boats. The pieces went underneath the areas where the cuts in the floor were made and across the center of the floor.


Working under the dangling floor. Hope those ropes hold.

Matt epoxied the pieces in and we laid the cut out floor piece on top. There were a few more steps involved (dry fitting, epoxying the bottoms first and temporarily laying the floor, yelling, etc.) but I will try not to bore you with any more detail. It was a bit of a trick to get the 100-lb floor back in correctly so that all the epoxy underneath would make contact with the floor for maximum strength.


Next, fiberglassing, filling/fairing, sanding, and painting.

We now have a solid cockpit floor. Our new favorite thing to do is to jump around on it (after spending years yelling at the kids not to walk too 'hard'). Speaking of which, when we owned our 2-flat, we used to have a tenant that Matt was sure did not bend her ankles when she walked. She would make our light fixtures rattle as she tromped around above us. Matt actually asked her to stop walking so heavily (well, he actually asked her roommates because she was not around). He started the conversation by saying, 'Do you have a T-Rex living up here that we don't know about?' All tact. Needless to say, the tenant continued to walk the way she walked and Matt stayed irritated.

With the critical part done, we can work on fiberglassing all the open areas and making it pretty again.


The next project, which has leap frogged to the front of our list, is replacing one of our rudder posts. Matt had noticed a tiny pinhole in the stainless steel when we removed the rudders after getting hauled out

We hired one of the contractors at the boatyard to fill the hole. But when the worker put acid on the shaft in preparation for putting in the epoxy, the acid revealed a whole series of voids that we couldn't see before. Unfortunately, it is hard to tell what is underneath these surface voids, but the chances are good that the underlying metal has lost structural integrity. For us, this means replacing the rudder shaft because the last thing we want is to have it break off in the middle of the Indian Ocean.


Rudderly ridiculous

It is a good thing Matt spotted the initial hole and that we discovered this issue now rather than losing a rudder while sailing. But it does mean another big project in uncharted (for us) territory. It will involve trying to dig out the post from the rudder without knowing what it looks like inside (not to mention repairing/rebuilding it with a new post). Just when Matt thought he could stop itching from fiberglass dust.