 |
| They take trespassing seriously in Malaysia. |
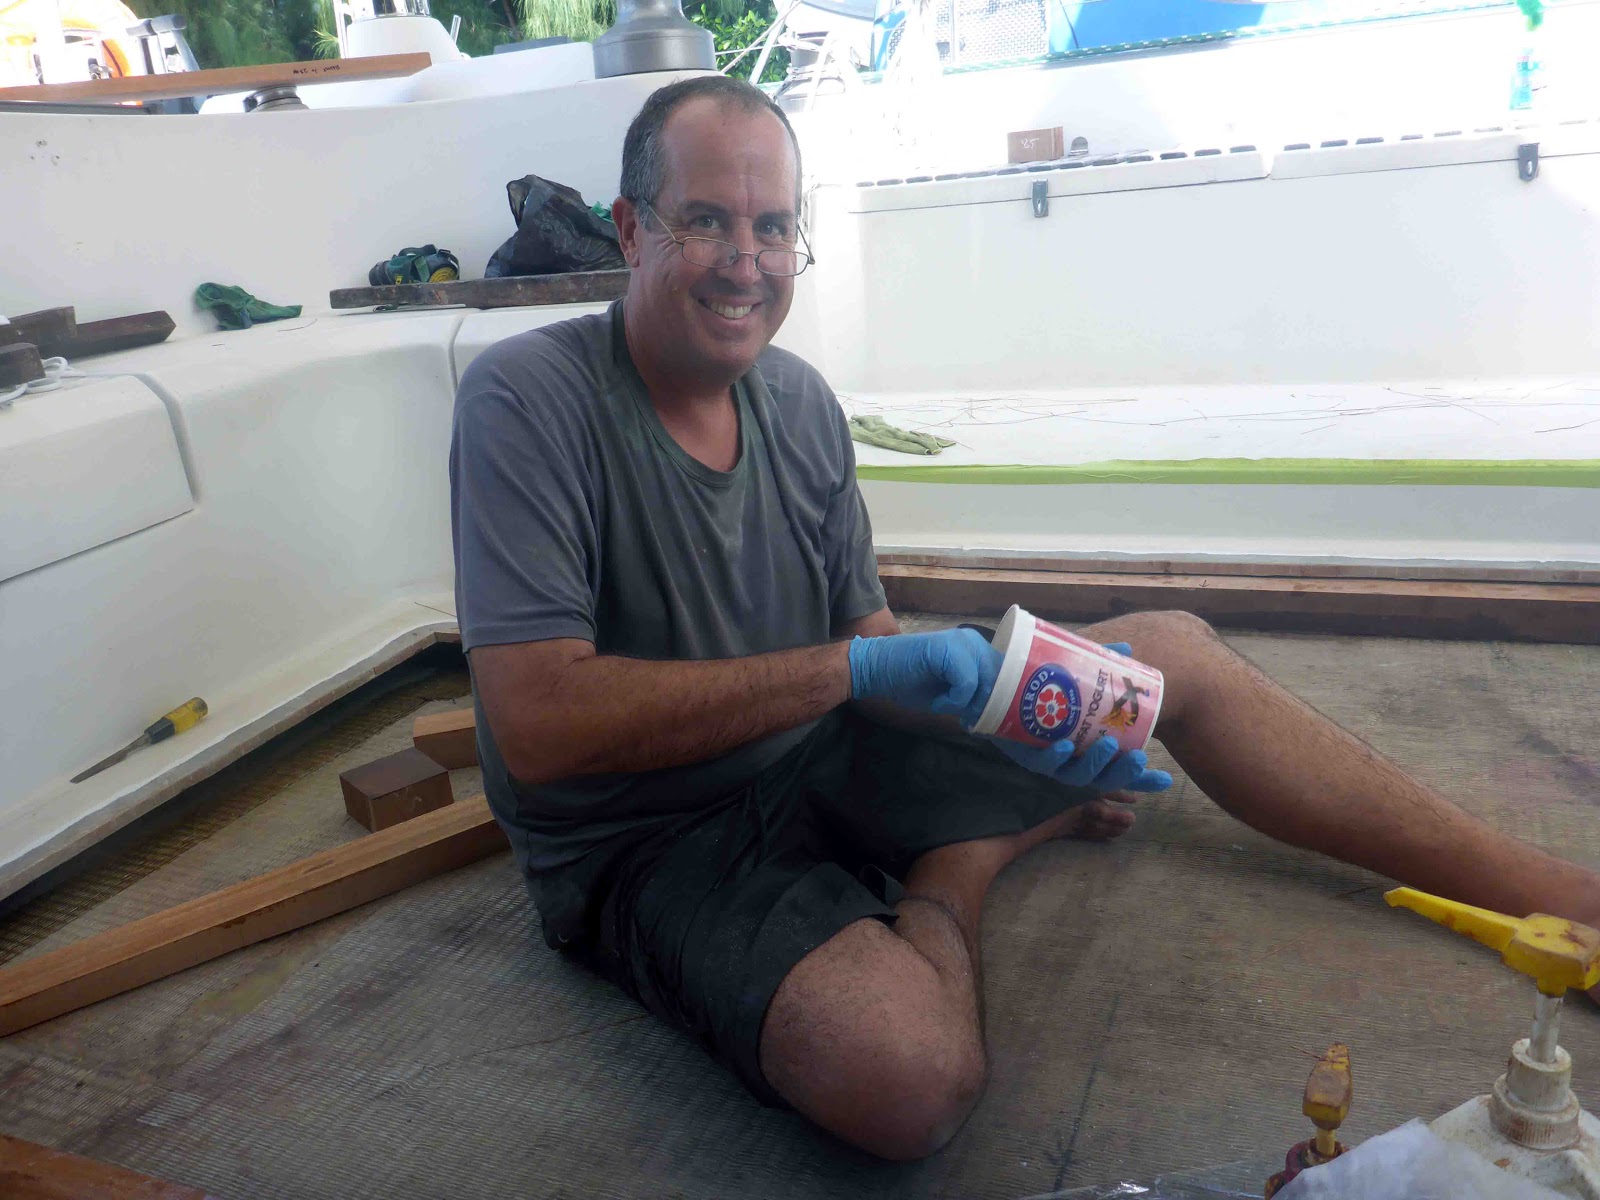
As a result of the extreme heat (mid-90's, no air-conditioning) and seemingly endless boat work, I find myself staring off into space like a low-energy zombie. In contrast, Matt seems to work at a feverish pace that makes me feel even more slug-like.
 |
| Arm protectors to keep the epoxy off. Practical and stylish. |
Sometimes he literally sweats buckets, repeatedly wringing sweat from his shirt throughout the day. Belying the myth that men don't multi-task well, he's mixing epoxy, painting the non-skid in the cockpit, epoxying then varnishing the teak tables, fixing his bike, repairing broken fans, etc.
The project to fix our cockpit floor, which was not even in our top three priorities while hauled out, took about six weeks. We were stalled on some of the other projects, so we decided to tackle this one while we had time. With this project completed, we have our living space back (no more crawling through hatches to get in and out of the boat on painting days). It's amazing what a refreshed and solid space does for peace of mind.
This post details all we have done (with Matt doing most of the heavy lifting, literally and figuratively), so tune out now if construction and boat work holds no interest for you. We originally thought we would paint the whole space ourselves, but Jimmy from Prestige Marine (who does fantastic work) became available to spray our Awlgrip, so we ended up shifting gears to sand and tape areas we weren't originally going to paint. It involved some extra work, but in the end we're happy with the way it turned out.
Reinforcing the cockpit floor

The whole reason this project got started was because of a bit of "spring" in the cockpit floor. The floor wasn't rock solid, as we knew it should be, so we decided we'd better figure out what was going on. When we opened up the cockpit floor, we didn't know exactly what was underneath. What we didn't expect from a quality boat builder was a few unattached pieces of wood strewn under the floor.
We think that over the years the boards (which were slightly wedge shaped to allow for the slope of the cockpit floor) may have shifted back just a bit, which is why they no longer provided full support to the fiberglass floor above.

The first step was to dry-fit new boards to support the floor. We purchased a local hardwood used the build fishing boats. I don't remember the exact Malay name but it was something like "Batu Kuning" ("Yellow Stone"). It's a teak like hardwood that weighs a lot but is water proof, rot resistant and strong.
The entire edge of where we cut away the floor was reinforced, as well as multiple points in the center. We also fixed a drain hole (we think it was put in after the boat was built) that was leaking water into the area.
The distance of the void from the undercarriage to the fiberglass above was different throughout the cockpit (to give a slight slope to get water to drain), so it took some calculating and cutting to make sure that everything would at be the correct height.
Before securing the boards, we dry-fitted the floor to make sure it would go back into place flat and even. We used ropes and a pulley system to suspended the floor from our hard top to help guide it into place. The section weighs a lot and it would have been very hard for the two of us to move it around without this support system.
We scrubbed the fiberglass to remove 27 years of dirt and then set to work securing the wooden supports with epoxy.

Repairing the cockpit floor
Once the boards were epoxied down, the next step was putting the fiberglass floor back in place.
 |
| Dry-fitting the floor. |
 |
| It takes a steady hand... |
 |
| There was remarkably little drama in fitting the floor into place. |
 |
| The resting place for the floor was our side deck. |

 |
| Once we were sure that the floor would sit correctly, Matt epoxied the secondary wood pieces into place. The epoxy 'cushion' would allow the floor to squish the boards to exactly the right height. |
 |
| The floor was lowered while the epoxy sandwiched between the boards cured. Then it was raised, the final layer of epoxy applied to the top of the boards, and the floor laid for the final time. |
 |
| Note the small sections of wood that Matt placed along the edge to prevent the floor from sinking beneath the level of the surrounding floor. |
 |
| A smaller section of floor that was cut away initially was repaired first. The rocks provided weight to ensure that the floor made good contact with the epoxy. |
 |
| Filled water jugs provided the weight to keep the floor level, while small pieces of wood screwed to the edges kept it from sinking too low. |
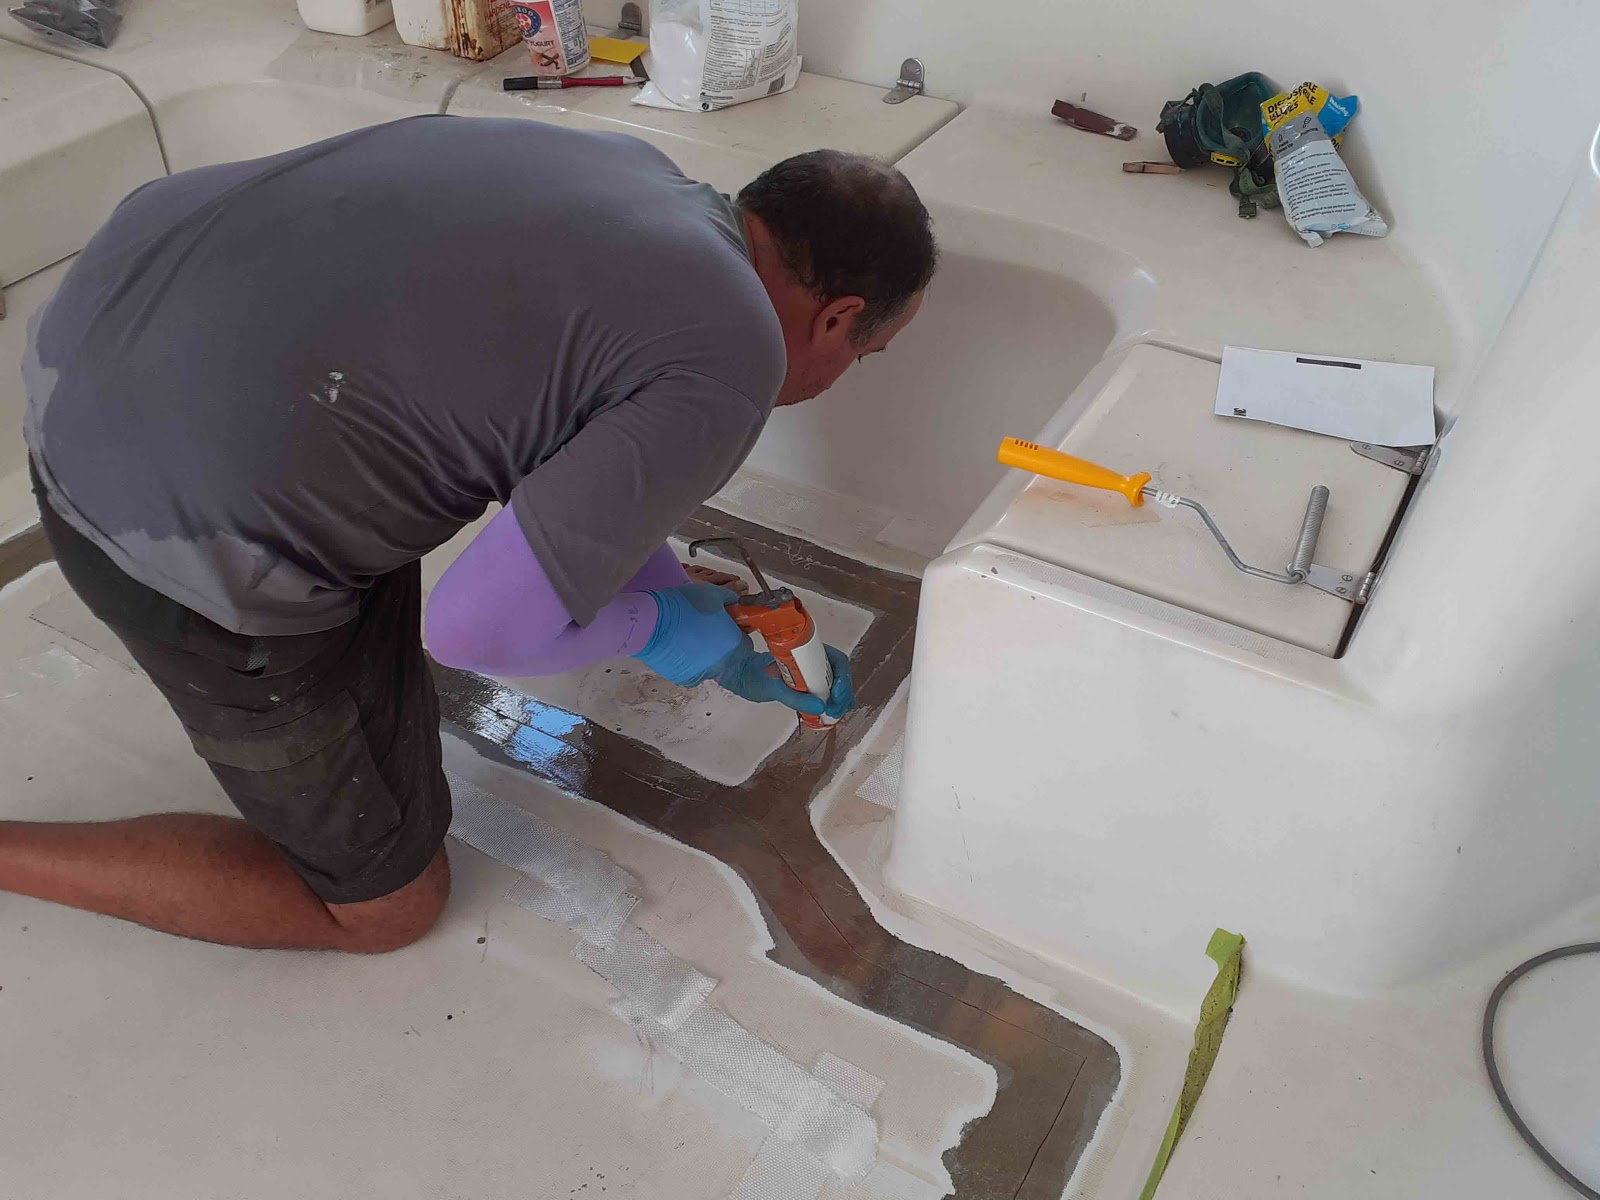
After the epoxy underneath was allowed to cure, the next step was to strengthen and fiberglass the cut lines.
 |
| Injecting epoxy into the cut line. |
 |
| Laying fiberglass cloth along the cut lines. |

 |
| Smoothing down the peel ply. |
 |
| Rolling to make sure there is good adhesion and no air bubbles. |
 |
| Filling and fairing. This was an iterative process. The hot weather caused the fairing compound to off-gas, which created small pinholes that showed up only after sanding. |
Painting
 |
| After priming. |
All the hardware was removed in places to be painted. We primed everything, including the gel coat in areas that were to be painted using Jotun Jotamastic high build primer. We put down two coats of primer, with a lot of sanding after each coat to get it smooth. We 'rolled and tipped', which is supposed to create the smoothest finish this side of spraying. Unfortunately, for us the surface showed a lot of brush marks that had to be sanded out.
We thought we could 'roll and tip' the Awlgrip primer and topcoat, but when we tried this technique on the seat covers, we did not get a smooth enough finish to make us happy. Jimmy, the master painter whose shed is next door to our boat, offered to spray for us if we would do all the taping and masking. We jumped at the chance because the alternative was to be annoyed at brush marks and imperfections every time we sat in our cockpit.


We thought we could 'roll and tip' the Awlgrip primer and topcoat, but when we tried this technique on the seat covers, we did not get a smooth enough finish to make us happy. Jimmy, the master painter whose shed is next door to our boat, offered to spray for us if we would do all the taping and masking. We jumped at the chance because the alternative was to be annoyed at brush marks and imperfections every time we sat in our cockpit.
 |
| The cockpit after taping and masking. This step was the most time-consuming of all the steps and had to be done a couple times (before the Awlgrip 545 Primer and Topcoat applications). |
The first time we taped everything up (for the 545 Primer), we enclosed things a bit too much and the spraying created a cloud that was very difficult to see through and may have taken some time off Jimmy and his painter's lives. Whatever it is that makes Awlgrip so durable does not create environmentally-friendly or safe-for-humans fumes. Luckily everyone wears good respirators, but it can still get absorbed into your skin if you hang about too long.
For the topcoat application, we created an opening to allow some of the paint spray to escape. The topcoat had to be applied on two different days, to reduce the risk of touching wet areas in some of the tighter areas of the cockpit. The only parts of the floor that were painted (both primer and topcoat) were the edges and the lines through the main area of the cockpit that would not be covered with nonskid.
Now that the glossy topcoat was on, we had to turn to recreating the non-skid areas on the floor and seat covers. To make matters a bit more complicated, the floor isn't just a solid area of non-skid. It has smooth areas around the perimeter as well as lines that divide up the larger flat areas to allow water to drain more easily.
We primed and painted the lines in between the nonskid by hand. Once those areas were cured, we had to then mask off the areas that would remain smooth. The final step was to prime the areas that would be covered with nonskid and then apply the topcoat and nonskid material. (Following all this nonsense? Yeah, too many steps for us too!)
We chose this stuff for the non-skid. The SoftSand has some give to it and the final product isn't as much like sandpaper as some of the other products out there. It was shipped quickly from the U.S. and we were happy with the end result. We chose the fine texture for the seats and medium texture for the floor. We think we could have gone with fine for the entire cockpit--it was 'grippy' enough and easier on exposed skin.
 |
| Matt sprinkling SoftSand on the seats |
 |
| The nonskid was done in sections to make it more manageable. We also had to do smaller sections at a time because the SoftSand had to be swept up and reused and there were times when we ran out temporarily. The larger sections in the main cockpit area remained challenging. |
 |
| The tape is covering the non non-skid areas of the cockpit. These 'channels' help the water drain. |
 |
| The center section of the main cockpit was completed last. Each non-skid application received 1 coat of topcoat with nonskid material sprinkled on top and then at least 2 more coats to cover the nonskid. The larger areas with more nonskid material needed another coat to whiten the color to match the surrounding areas. |
The Big Reveal

 |
| Matt also took this opportunity to refinish the tables. He used a combination of epoxy and varnish. Note: flies love the shiny varnish. Some of the additional coats were to fix the marks left by struggling flies. |

After all that work will anyone be allowed to walk on the floor through the cockpit?
ReplyDeleteOnly if they're bubble-wrapped...
DeleteOMG - from a far (Florida) distance and, as viewed in photos, you guys did an AMAZING job with an absolutely BEAUTIFUL FINISHED PROJECT! Do I sense that both of you have a bit more than just a little of a perfectionist streak in your personalities? ;-) WELL DONE!
ReplyDeleteThanks, Gayle! Guilty as charged on the perfectionist streak (mostly Matt) but we definitely had to let go on this project or we would never have finished.
Delete.... you've insured your sons have witnessed cooperation and yet another difficult job well done. Though cursed with hyperhydrosis,Matt seems to have a fine pair of steady hands.
ReplyDelete"Hyperhydrosis"--had to look that one up!
Delete